This video shows a Korean chap making a chamber pot out of paper. He rolls strips of paper into cords (in a really clever way that looks impressive in itself) and then weaves the resulting cords into proper little baskets. It's amazing.
Sunday, August 05, 2012
Monday, July 23, 2012
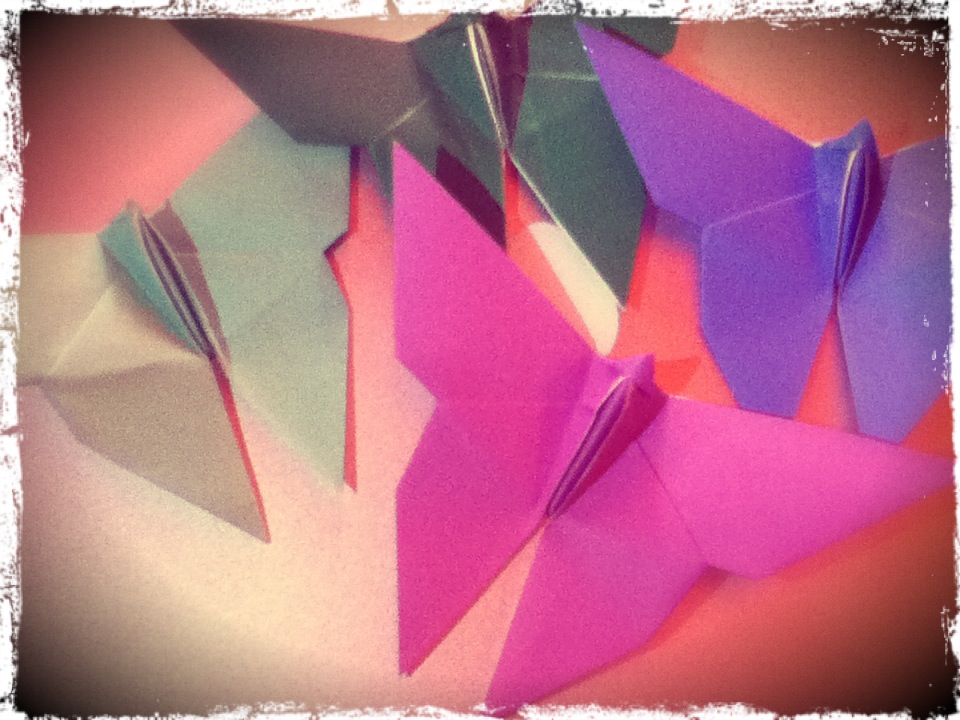
Origami butterflies
Me and a friend formulated vague but enthusiastic plans to make a low-budget film about cyborg moths. When my friend pointed out that our special effects budget would be effectively zero, I responded with origami. I made a small swarm of moths, which are now decorating my living room.
Sunday, June 17, 2012
A psychedelic chicken and a mathematical object
I forgot to post this when I made it back in May. A card was required for a birthday, so psychedelic chicken came to the rescue! I drew a weird chicken with paisley pattern, and cut it out and gave it a speech bubble:

I decided to leave it black and white because I quite liked the effect of the intricate pattern, though it would also look good done in clashing colours. It could be a do-it-yourself colouring card.
To go with the card, I made a fold-out 3D object. I posted it flat, and it has to be assembled by folding each layer at 90 degrees. It's not as neat as I'd have liked because you have to use a craft knife to cut the slits and it turns out it's really hard to cut curves in pearlescent card with a craft knife.

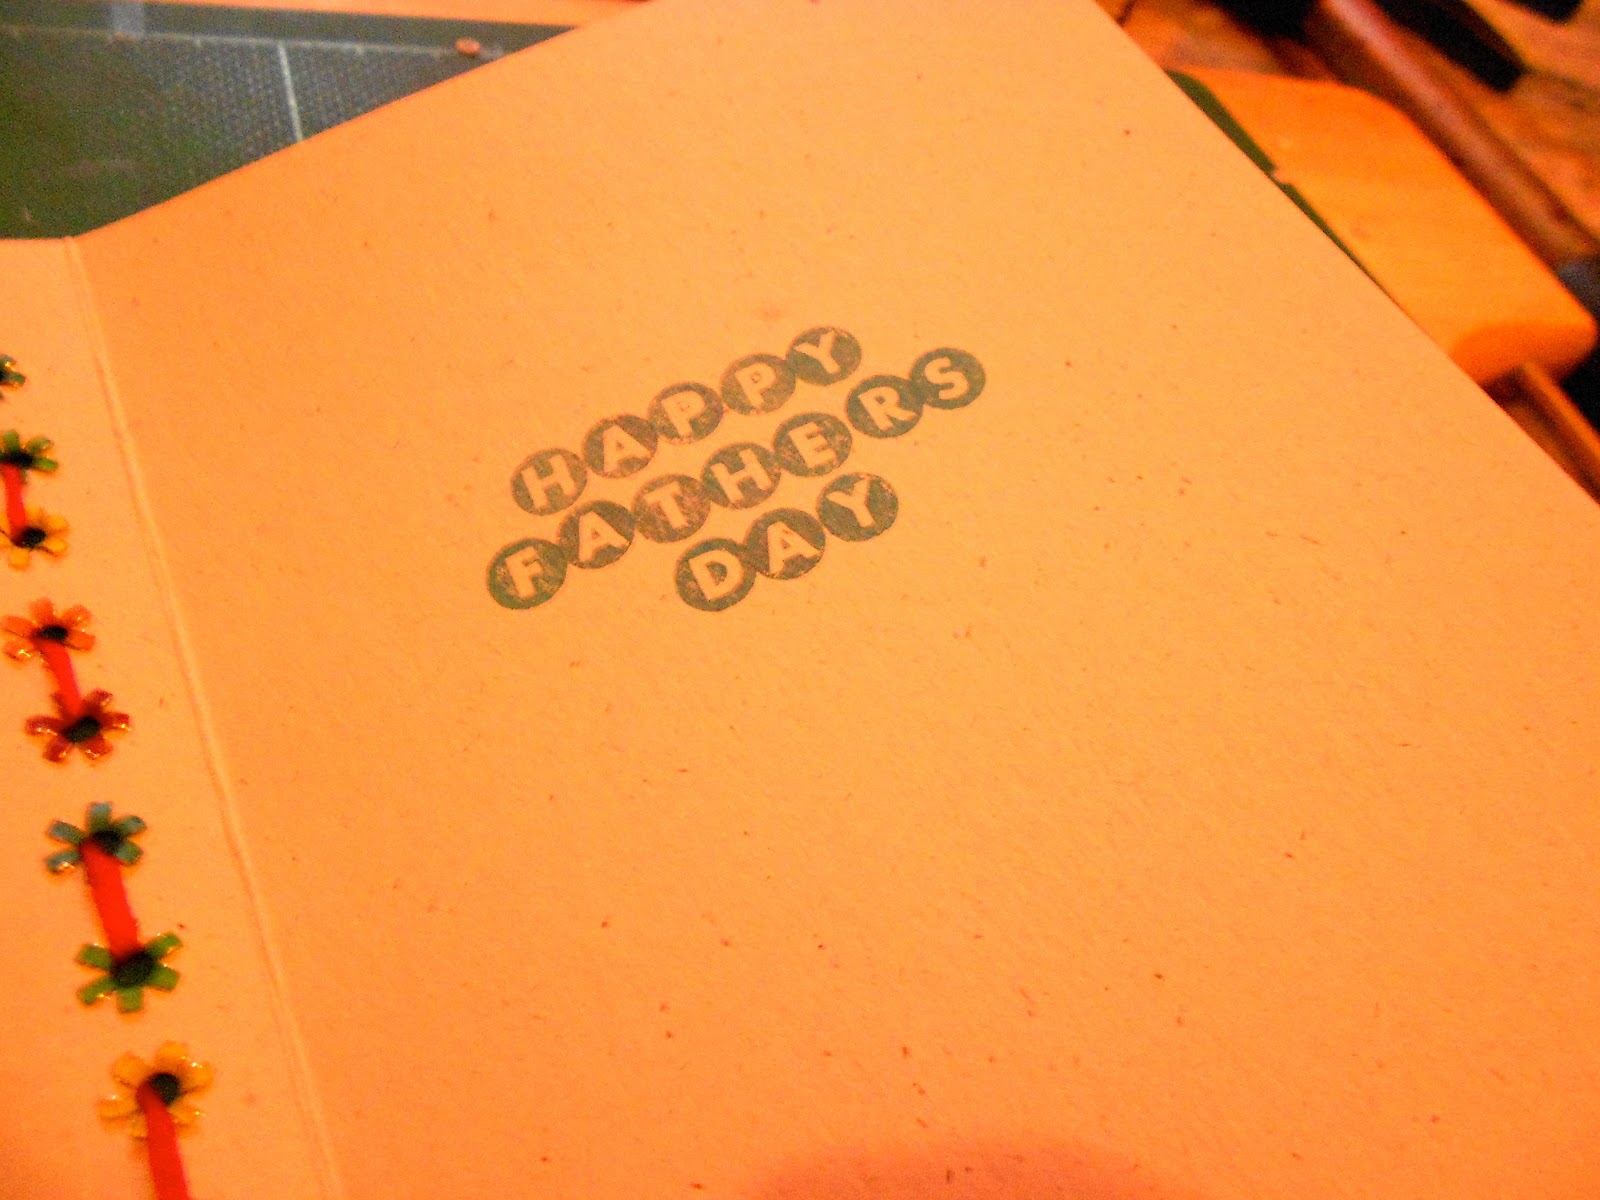
Father's day mathematical card
Today is father's day, and Mr T had an idea for a card. He wanted to use that technique where you use straight lines to get a curved shape, and I like using eyelets and making a lot of noise, so we pooled the two and got the hammer out. It's not a real card unless you need a hammer to make it, right?
First step: glue a bit of Indian newspaper (with writing in Hindi (I think)) to a card, and punch a grid of holes around the edge. That pen-like tool is the hole punch, which punches holes just the right size for the eyelets to go in:

Next, I added the eyelets. They're just little metal things, and you put the face of it on the front of the card and the back goes through the hole. Then you use the other tool and hit it hard with the hammer till it splays the back open and fixes it in place. I used multi-coloured ones:

This is the back of the eyelets - they look like little flowers:

Then I used embroidery thread to make the lines. I used two colours here, and did two curves. You could easily add in the opposite corners and do four:

The back of your work should always be as neat as the front:

Happy father's day!
Thursday, March 29, 2012
Mother's day rolled paper bracelet
I carried on with my rolled paper beads theme to make this bracelet for a mother's day present:

I made straight beads rather than the usual sort of tapered oval/bicone ones, by rolling rectangles of paper instead of triangles. It's slightly fiddlier in that you have to get the paper exactly straight to start with, with no room for error, and also the pattern will show on the outside of the roll much more obviously so you have to bear that in mind when choosing paper. I used an advert for a Honda car, which has lots of shades of purple in it. I alternated which end of the paper came out on top for a variety of bead colours.
Then I decided to do something a little bit different from just stringing them together, and did this sort of ladder design. The beads are side-by-side, rather than end-to-end. It's quite simple to do, but mine was massively complicated by the fact that I didn't have any proper bead-stringing thread and had to use embroidery thread. I wanted to use a cotton cord, but all the ones I've got were too thick to go through the beads twice (as it has to for this design) and far too thick to go through the fastener, and we don't have any bead shops to get more from in Newcastle. None at all. Not one. So, embroidery thread it was, the benefit of which is that it comes in every shade in the world so you can pick the right one. Combined with some nice purple beads for the ends, I was happy with the colours.
To make the bracelet, you have to start from the middle of the thread so that you have two ends (on needles is easiest, though dangerous). Each time you add a paper bead, you need to thread each end first through a seed bead, then each end goes through the paper bead, from opposite ends of the bead so that the threads cross over inside the bead. Once you get into it it's quite a quick process (though using embroidery thread means it keeps on getting knotted and splitting - don't use this).
Thursday, March 08, 2012
Making paper beads
It's both my aunts' birthdays in early March, and this year I made them both necklaces made of paper beads. These are so easy to make (if a little bit of a faff) and they look great (if I do say so myself).
If you're not keen on making them, you can very easily buy them. Get them from a supplier like this one and give some money to Ugandan women at the same time. If, however, you'd prefer to make your own, there are lots of Youtube videos and online tutorials to show you how, so I'm not going to do that here. This is a good, simple set of instructions if you want them.
I made two very different necklaces with mine. For one aunt, I made them from Peter Capaldi. Magazine pages are good type of paper to use, as they're thin and glossy and good colours. I chose Peter because I thought my aunt would like the resulting beads - mostly dark grey, with pinkish highlights. Here he is being cut into triangles:
 |
| Peter Capaldi in the Radio Times being cut into triangles |
Then I rolled them up, glued them and left them to dry, then varnished them. If you put them on cocktail sticks this is much easier to do. Mr T came up with this great idea for a stand, scrumpled up tinfoil:
 |
| Beads drying on cocktail sticks |
Once varnished (two coats) and dry, they look like this:
 |
| Finished varnished paper beads |
I strang them with grey seed beads in between, and a few silver-coloured metal ones at the front. They're from an African stall at Portobello Road market in London:
 |
| The finished necklace |
For my other aunt, I used normal white paper and coloured it with permanent marker. You only need to colour the edges of the paper where it'll show when it's rolled, not the whole triangle. Then I did the same as with the Capaldi ones:
 |
| Beads drying |
And I strang these ones with blue and red seed beads, and chips of malachite for super-bright contrast:
 |
| The finished paper bead and malachite necklace |
Saturday, January 14, 2012
Get well soon card for my granddad
This is a card me and Mr T made for my granddad, who's in hospital with a broken hip (now mended and healing well). It's a kind of collage mounted on an off-white textured card.
The 'plants' are cut and torn from lots of kinds of paper and card, including glittery, corrugated and hand-made (by me) paper. They're arranged to look vaguely like plants, with 'water' symbolised by the horizontal wavy lines.
The fish is an image that Mr T drew ages ago, and he copied it and went over it in fineliner. Then I cut it out and stuck it over the top. The hardest part was deciding how to arrange the plants so that they looked best behind the fish (Mr T came up with the final arrangement).
Inside are three 'bubbles' of handmade paper to contain the words 'get well soon'. I hope he likes it.


Subscribe to:
Comments (Atom)