Friday, January 02, 2015

Christmas crafts roundup 2014

Now that it's 2015 (happy new year!), it's safe to post all the images of my various present-making activities from the festive season.

First, cards. Here are some from this year, on white. I think the most successful ones were the ones on coloured metallic backgrounds but those don't come out so well in photos.


I made these by printing, just using black printing ink, and a block cut with lino-cutting tools. I didn't actually use lino, it's the rubber stuff that you can get. Here's the cut out designs, on top of the doodles used for planning purposes. Halfway through cutting the snowman, I went for a swim and while I was doing it I realised that even though I'd taken care to do it the right way round, I was still about to cut it so that the snowman would come out black. I rescued it, but it's not quite the way I wanted it to look. Lucky I went swimming just at that moment! 


Here's a scarf I made for a friend's birthday present (on Boxing Day), the same as a previous one but in two solid contrasting colours rather than with a colour-changing wool.


In the photo above you can also see the corner of a little crochet purse I put chocolates into for another friend, and here's one with earrings in for a Christmas present.


This wasn't exactly Christmas-related except that I did it recently: I used this washi tape to make my ipad cover prettier. It's easily removable so I can change it if I get bored with it.


This is a necklace made for my mother, a straightforward bead-stringing affair but quite effective, I think. They're glass in the centre, and then there's malachite chips interspersed with a few metal ones and some bamboo coral (ethical version of coral).


But this was the most time-consuming thing: stiffening crocheted snowflakes. Making them is fun to do because it's relatively quick (maybe 20 minutes for a small one and a couple of hours for a big, complicated one), but then they're all floppy. So you dip them in some kind of solution (I used good old PVA glue and water) and then pin them out to dry, like this.


You have to use pins that won't rust and you should be a bit more careful than me about pinning them out neatly - not all of mine were very even because I didn't spend the time doing it properly. But some of them came out really well, and those made it as Christmas presents (the one that's large in the photo above is on our tree though, as it was not quite perfect enough but I like the design).

Here's a successful one, demonstrating the stiffness by holding it up.


 That was fun. I got a kit to knit little animals for Xmas as well.

Wednesday, October 29, 2014

Tiny hats for smoothie bottles

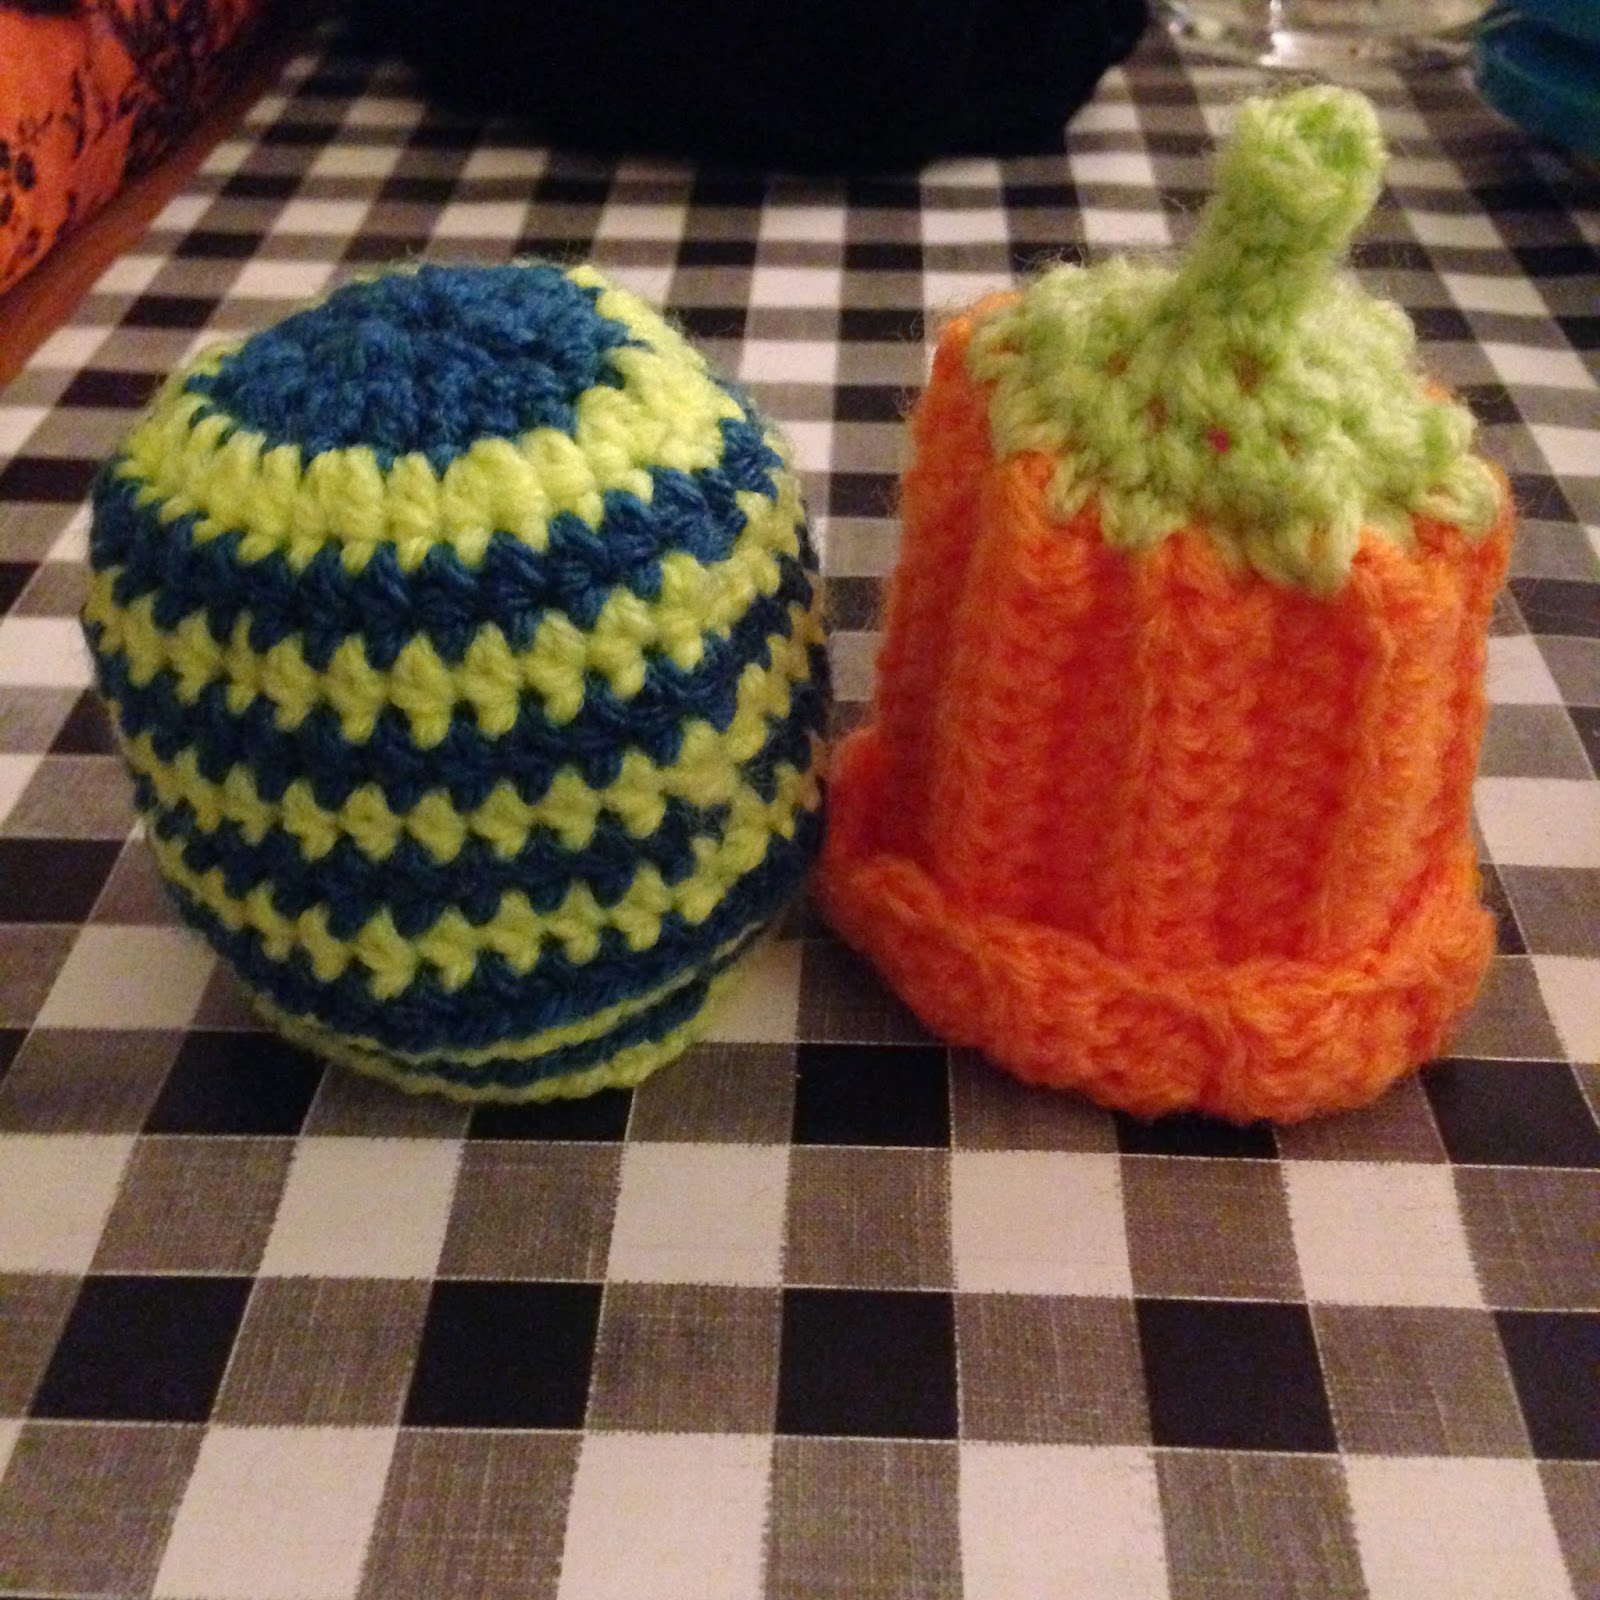
A friend invited me round the other night to make little hats for bottles of Innocent smoothies. They raise money for Age UK, so we made as many hats as we could in a couple of hours. Here are my crocheted efforts:


And all of them together:


Tuesday, October 28, 2014

Brightly coloured wrapped headphones

Ages ago now, I got some new headphones because mine broke, as they do now and again. My old ones were pretty pastel colours, and the cables were light blue with little hearts on them, and they were generally delightful. My new ones are black. This was a big disappointment to me, even though the quality of the headphones is good. But! I was looking at things on the internet the other day, and I saw someone had wrapped theirs, and I did the same.

It's a basic macrame/friendship bracelet knot, with the cord as the 'lazy' thread and embroidery thread or similar as the working thread. My stripy one was done with a colour-changing thread, though you could just as well do stripes the old-fashioned way. This was me doing it on the train (which intrigued my fellow passengers):


And here's the finished headphones:


Supposedly it also stops them from tangling, though I'm not sure that's actually true.

Sunday, August 24, 2014

Long wavy stripes

I made some crochet things for my mother's birthday. (At the moment basically everyone gets crochet things for their birthday.) I did this long scarf with stripes along its length. I like doing stripes this way because it's something you can't do with knitting, unless you had super-long needles because you have to make it in just a few rows with a LOT of stitches. I can't remember how many stitches per row for this one but it's probably over a hundred. The wavy pattern is made by making different height stitches (double, half treble and treble) and doing the opposite on the next row so the peaks and troughs match up. The ends of the rows were a bit untidy so I double crocheted the ends to neaten them up.


Then I also did this little purse, which is a really cute pattern: you start in the middle working rows vertically, and work increases into the last stitch each time to make the round part. You go back and forth around the centre. Hard to explain but it's from this pattern.


And finally, Tony made a linocut card, inspired by a fossil ammonite after we visited the shell grotto in Margate.


Friday, August 22, 2014

iPad cosy

Here's another very simple thing that I crocheted: an iPad cosy. It's extremely simple, but I like the colours and the way the stitch looks. It's from that 200 stitches book I linked to, and the rows slant in alternate directions. Not difficult at all, but I love it, people comment on it, and it cost me a lot less than the boring old cases you can buy. (If I have one criticism of the iPad, it's that it doesn't come in bright colours. Well, I fixed that.)


Thursday, August 21, 2014

Silly printed face

I mentioned that Tony had been doing lino cutting. Here's my first attempt (it's not lino, but rather rubber, which is easier to carve than lino for beginners). Obviously I did the silly face that I draw. You can see the test prints here, but I used it to make my grandma's birthday card and she really liked it. 


Wednesday, August 20, 2014

Graffiti

We went for a meal and the place had markers in the toilets and encouraged graffiti. I drew this bird, which is inspired by (=copied from) birds that we saw graffitied all over the place when we were on holiday in Bologna years ago. Back then, these birds were so ubiquitous that they sold things with them on - I think my aunt had some plates. I wonder if the Bologna birds are still to be seen.


Monday, August 18, 2014

Loopy scarf

I can't claim any credit for this, because I just followed a pattern, but I do think it's the best thing I've made. I made it as a present, but I'm tempted to make another the same for myself. It's an infinity scarf (ie the kind without ends, that's a big loop) and the stitch is a really unusual one called 'broomstick lace'. I followed this youtube tutorial, which although it's long is very clear (I skipped ahead once I'd got the idea of a step).


You essentially make every other row much bigger by making the loops round something (I used a ruler) and then grouping them together to make the pattern.

I liked the colour-changing wool so I did similar, and got this:


The card in the second picture is a lino-cut printed card with the image by Tony (printed by moi). We made a few printed cards earlier this year, but I didn't get round to posting any. I'll have to locate the photos and put them on here.

Sunday, August 17, 2014

Granny hexagon

I wanted to make a different-shaped cushion, and I discovered/worked out that you can make hexagons in the same way you make squares. I found this pattern, but I didn't use it in the end as I wanted to see if you can do it in literally the same way as the squares, just changing the number of corners rather than doing different stitches. And it turns out you can, though it doesn't look quite as nice as the fiddlier ones at that link:


I had to unpick and redo a couple of rounds because it wasn't lying flat, but by experimenting I eventually got it.

Saturday, August 16, 2014

Fancy scarf

I used one of the stitches I practised to make a long, light, open scarf for my grandma's birthday (it is summer, but the scarf is very light and will be nice when the evenings are cooler). I did it in a nice warm grey colour. Here it is in progress:


And here it is finished:


The book underneath the first photo, that I got the pattern from, is a really nice book called '200 crochet stitches'. It's got excellent clear instructions, diagrams and photos. I got mine with Christmas money last year:

Friday, August 15, 2014

Stitches

One think I've really found that I like about crochet is how easy it is to make lots of different kinds of fancy stitches. Here's a couple of practice goes I had, of making rounds, chevrons, 'eyelash' stitch and one that I then used to make a complete project (photo soon).


Thursday, August 14, 2014

Obligatory granny squares

One of the first things that most people learn how to crochet is granny squares: they're easy, quick, and use up little bits of wool rather than needing to buy big quantities. You can then put the squares together to make things like blankets and cushions (and more, if you're creative). Here's my first go at a cushion cover, not yet attached to a cushion:


When you attach the squares together you can do it with crochet, rather than having to sew them. Gives a nice neat edge. Some people actually crochet the lot together as they're going, building one on what's already there, but I made little ones and attached them in rows.

Wednesday, July 09, 2014

Phone cover

I've got into crochet since I last blogged, ages ago. I've made quite a few things so will try and photograph them and put some posts up.

This one is a phone sock I made for Tony because he was carrying his phone around in an actual sock, an old (clean) one. I made it in the pub, which caused excitement among the regulars.


It's just rows of double crochet, alternating every other row. It was approximately DK weight with a 4mm hook. I added a little button loop in chain stitch just to hold the phone in, as it's not a tight-fitting cover. 

Sunday, August 05, 2012

Paper weaving

This video shows a Korean chap making a chamber pot out of paper. He rolls strips of paper into cords (in a really clever way that looks impressive in itself) and then weaves the resulting cords into proper little baskets. It's amazing.

Monday, July 23, 2012

Origami butterflies

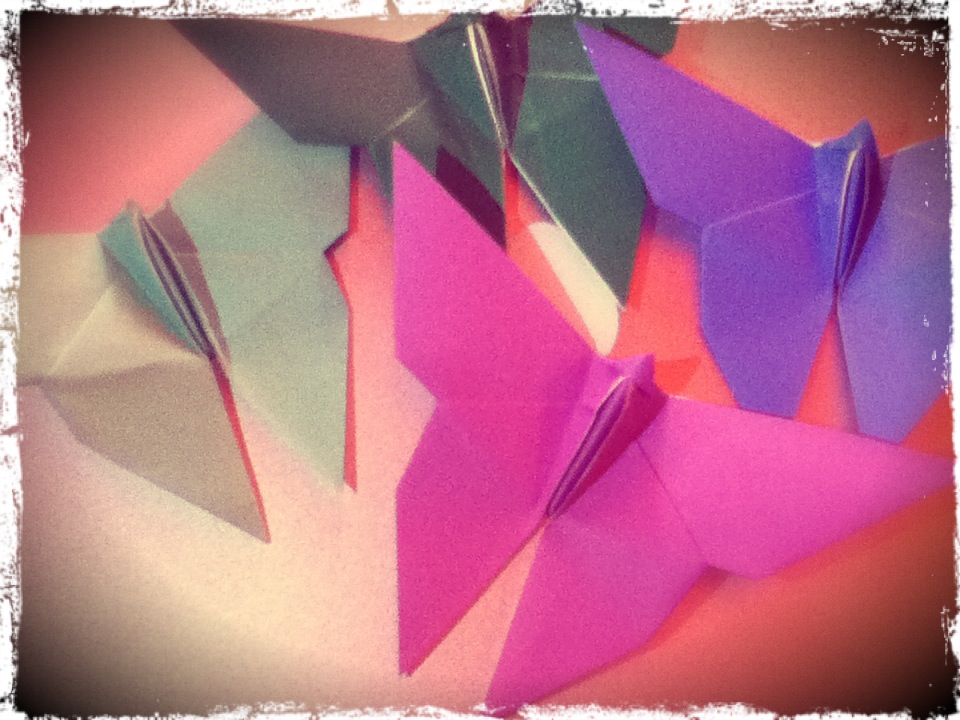
Me and a friend formulated vague but enthusiastic plans to make a low-budget film about cyborg moths. When my friend pointed out that our special effects budget would be effectively zero, I responded with origami. I made a small swarm of moths, which are now decorating my living room. 

Pattern here.

Sunday, June 17, 2012

A psychedelic chicken and a mathematical object

I forgot to post this when I made it back in May. A card was required for a birthday, so psychedelic chicken came to the rescue! I drew a weird chicken with paisley pattern, and cut it out and gave it a speech bubble:


I decided to leave it black and white because I quite liked the effect of the intricate pattern, though it would also look good done in clashing colours. It could be a do-it-yourself colouring card.

To go with the card, I made a fold-out 3D object. I posted it flat, and it has to be assembled by folding each layer at 90 degrees. It's not as neat as I'd have liked because you have to use a craft knife to cut the slits and it turns out it's really hard to cut curves in pearlescent card with a craft knife.


Father's day mathematical card

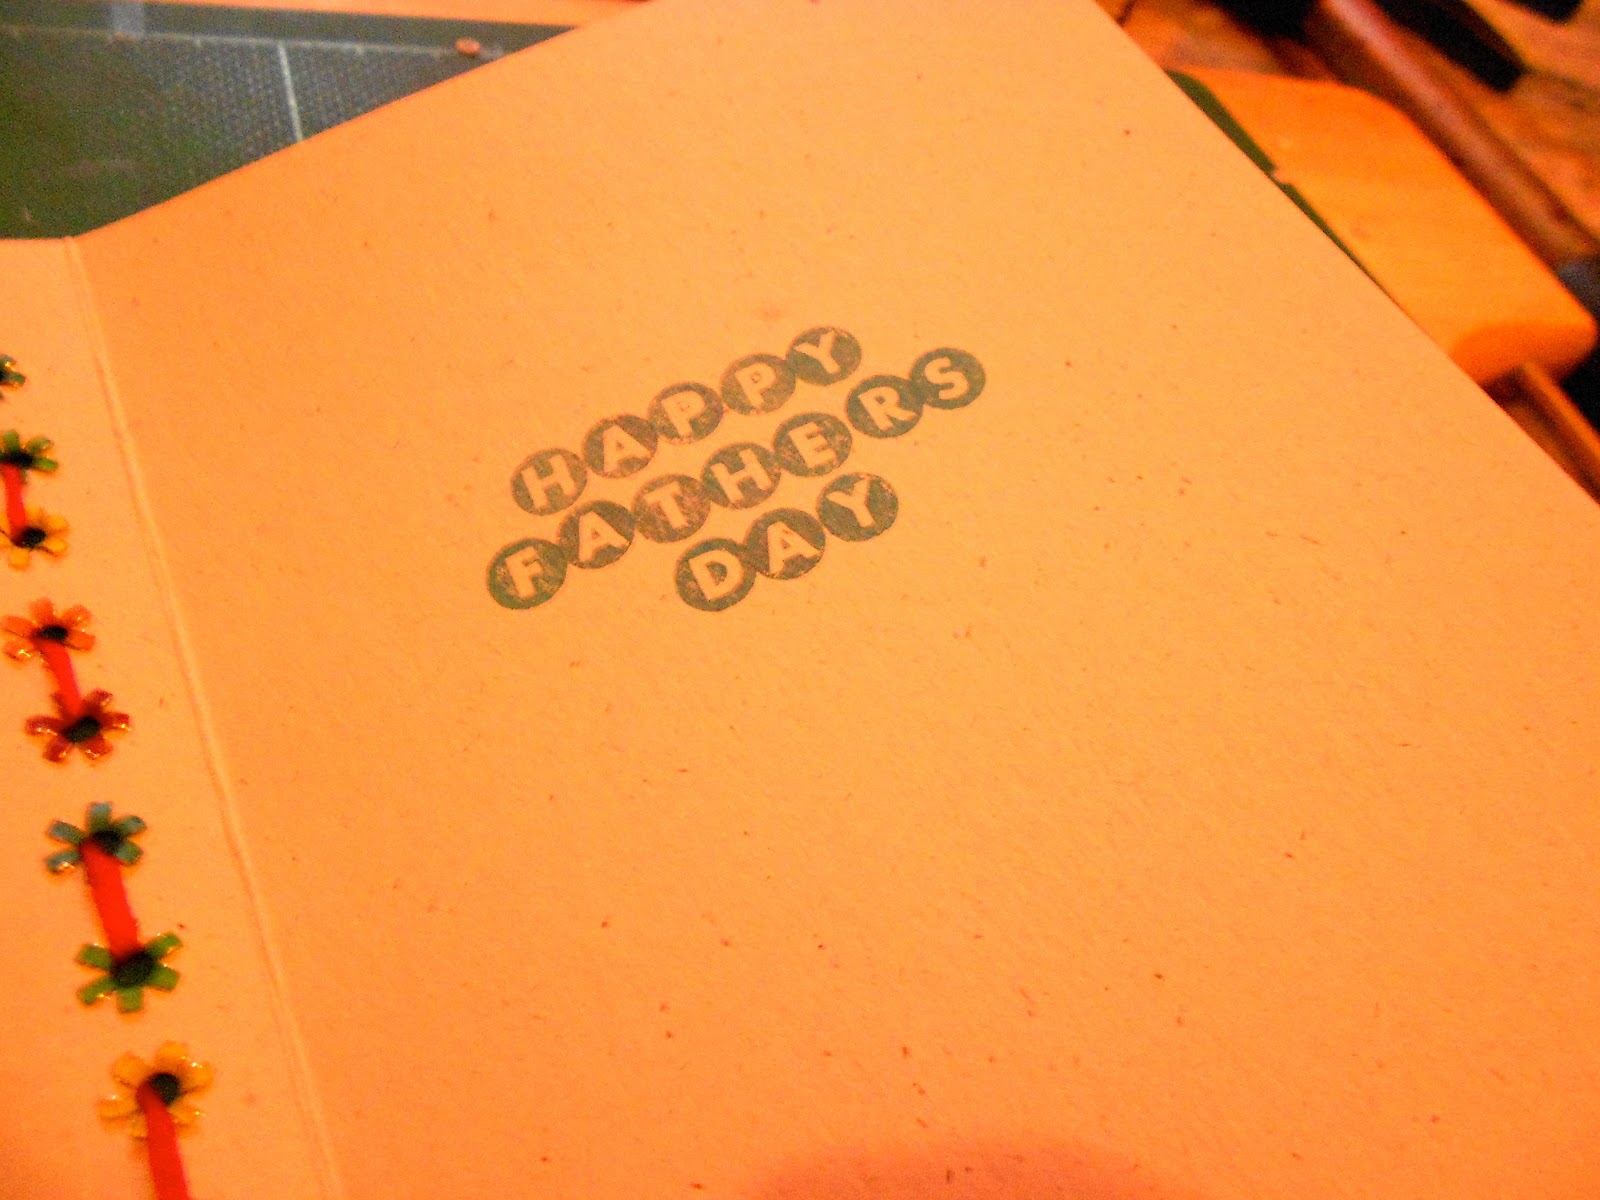
Today is father's day, and Mr T had an idea for a card. He wanted to use that technique where you use straight lines to get a curved shape, and I like using eyelets and making a lot of noise, so we pooled the two and got the hammer out. It's not a real card unless you need a hammer to make it, right?

First step: glue a bit of Indian newspaper (with writing in Hindi (I think)) to a card, and punch a grid of holes around the edge. That pen-like tool is the hole punch, which punches holes just the right size for the eyelets to go in:


Next, I added the eyelets. They're just little metal things, and you put the face of it on the front of the card and the back goes through the hole. Then you use the other tool and hit it hard with the hammer till it splays the back open and fixes it in place. I used multi-coloured ones:


This is the back of the eyelets - they look like little flowers:


Then I used embroidery thread to make the lines. I used two colours here, and did two curves. You could easily add in the opposite corners and do four:


The back of your work should always be as neat as the front:


Happy father's day!


Thursday, March 29, 2012

Mother's day rolled paper bracelet

I carried on with my rolled paper beads theme to make this bracelet for a mother's day present: 


I made straight beads rather than the usual sort of tapered oval/bicone ones, by rolling rectangles of paper instead of triangles. It's slightly fiddlier in that you have to get the paper exactly straight to start with, with no room for error, and also the pattern will show on the outside of the roll much more obviously so you have to bear that in mind when choosing paper. I used an advert for a Honda car, which has lots of shades of purple in it. I alternated which end of the paper came out on top for a variety of bead colours.

Then I decided to do something a little bit different from just stringing them together, and did this sort of ladder design. The beads are side-by-side, rather than end-to-end. It's quite simple to do, but mine was massively complicated by the fact that I didn't have any proper bead-stringing thread and had to use embroidery thread. I wanted to use a cotton cord, but all the ones I've got were too thick to go through the beads twice (as it has to for this design) and far too thick to go through the fastener, and we don't have any bead shops to get more from in Newcastle. None at all. Not one. So, embroidery thread it was, the benefit of which is that it comes in every shade in the world so you can pick the right one. Combined with some nice purple beads for the ends, I was happy with the colours.

To make the bracelet, you have to start from the middle of the thread so that you have two ends (on needles is easiest, though dangerous). Each time you add a paper bead, you need to thread each end first through a seed bead, then each end goes through the paper bead, from opposite ends of the bead so that the threads cross over inside the bead. Once you get into it it's quite a quick process (though using embroidery thread means it keeps on getting knotted and splitting - don't use this).

Thursday, March 08, 2012

Making paper beads

It's both my aunts' birthdays in early March, and this year I made them both necklaces made of paper beads. These are so easy to make (if a little bit of a faff) and they look great (if I do say so myself). 

If you're not keen on making them, you can very easily buy them. Get them from a supplier like this one and give some money to Ugandan women at the same time. If, however, you'd prefer to make your own, there are lots of Youtube videos and online tutorials to show you how, so I'm not going to do that here. This is a good, simple set of instructions if you want them. 

I made two very different necklaces with mine. For one aunt, I made them from Peter Capaldi. Magazine pages are good type of paper to use, as they're thin and glossy and good colours. I chose Peter because I thought my aunt would like the resulting beads - mostly dark grey, with pinkish highlights. Here he is being cut into triangles:

Peter Capaldi in the Radio Times being cut into triangles

Then I rolled them up, glued them and left them to dry, then varnished them. If you put them on cocktail sticks this is much easier to do. Mr T came up with this great idea for a stand, scrumpled up tinfoil:

Beads drying on cocktail sticks

Once varnished (two coats) and dry, they look like this:

Finished varnished paper beads

I strang them with grey seed beads in between, and a few silver-coloured metal ones at the front. They're from an African stall at Portobello Road market in London:

The finished necklace

For my other aunt, I used normal white paper and coloured it with permanent marker. You only need to colour the edges of the paper where it'll show when it's rolled, not the whole triangle. Then I did the same as with the Capaldi ones:

Beads drying

And I strang these ones with blue and red seed beads, and chips of malachite for super-bright contrast:

The finished paper bead and malachite necklace

Saturday, January 14, 2012

Get well soon card for my granddad

This is a card me and Mr T made for my granddad, who's in hospital with a broken hip (now mended and healing well). It's a kind of collage mounted on an off-white textured card. 

The 'plants' are cut and torn from lots of kinds of paper and card, including glittery, corrugated and hand-made (by me) paper. They're arranged to look vaguely like plants, with 'water' symbolised by the horizontal wavy lines. 

The fish is an image that Mr T drew ages ago, and he copied it and went over it in fineliner. Then I cut it out and stuck it over the top. The hardest part was deciding how to arrange the plants so that they looked best behind the fish (Mr T came up with the final arrangement). 

Inside are three 'bubbles' of handmade paper to contain the words 'get well soon'. I hope he likes it.